Ironing can be laborious if you don’t know how to do it properly. Use the following guide when ironing your next dress shirt. You’ll love your results.
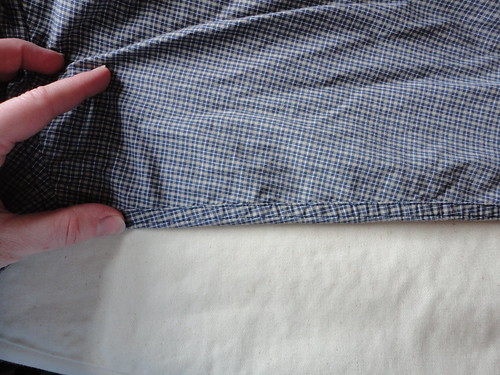
Imagine the Shirt in Sections
Tip: When ironing, mentally cut the shirt into sections and only iron one section at the time.
When I iron a shirt, I do so in this sequence:
Collar—>Right sleeve—>Left Sleeve—>Left Side—>Back—>Right Side
Ironing is methodical. I can promise you that your ironing skilz will improve if you iron a shirt in the same sequence every time.
Mama’s Ironing Method
So here’s my tried and true method for ironing a dress shirt that looks as if it was professionally pressed at the cleaners.
First, spray the shirt with starch if you are a starch fan. The use of spray starch deserves its own post, as there are a few do’s and don’ts for successful starch use. More on spray starch very soon.
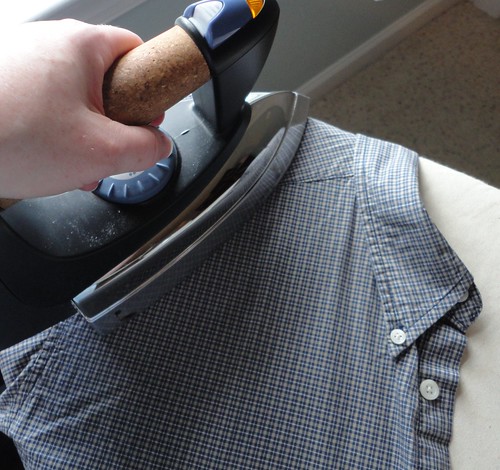
Iron the Collar
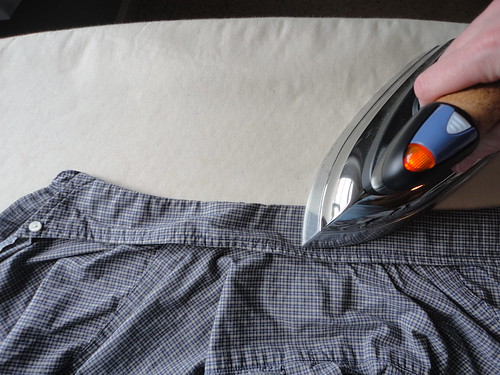
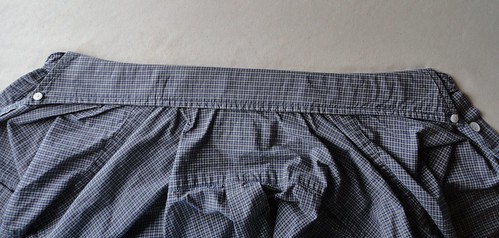
Always iron the collar first. Always. If you save it til last, you’ll wrinkle the shirt you’ve just spent time ironing.
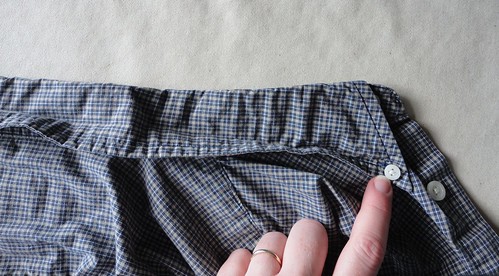
If your shirt has buttons on the collar, button those prior to ironing. If you don’t button them, the crease will be off and look weird.
Smooth the collar down first with your hands and determine where the crease needs to be. Then with a piping hot iron, press the collar down. Make sure to give it some steam so the crease will be nice and crisp.
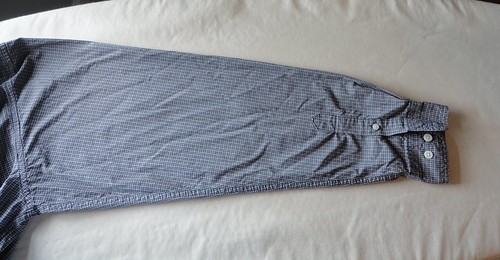
Iron the Sleeves Next
Iron the sleeves next. I always iron right sleeve and then left sleeve – you do whatever suits your fancy.
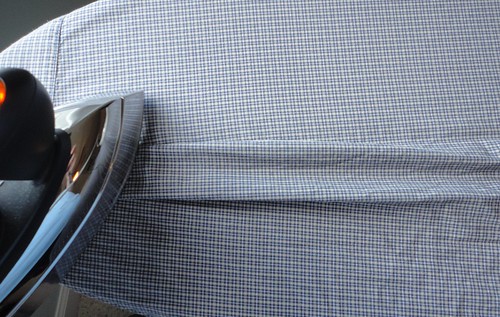
See the way this seam is lying flat? You want to find that seam on your shirt and then lay the fabric flat against it. Don’t iron half of the seam on the front side and then half of the seam on the back side. It will cause the crease running down the arm to look uneven.
After finding the seam, smooth the material flat with your hands. Determine where the crease will be and then press over it with your iron.
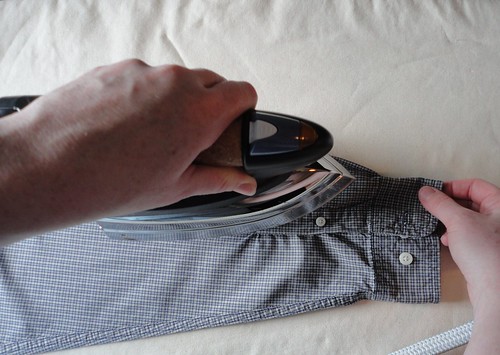
You’ll notice that things get tricky along the wrist area. Determine exactly where you want the creases in the wrist to be (the fabric is naturally gathered to create a crease). While holding one end of the cuff taut, use your iron in the other hand to press down the creases.
Now flip the sleeve over and iron the other side exactly as you did the front.
Tip: For a professional look, do not iron over the buttons that are on the underside of the shirt. It will make the fabric look shiny.
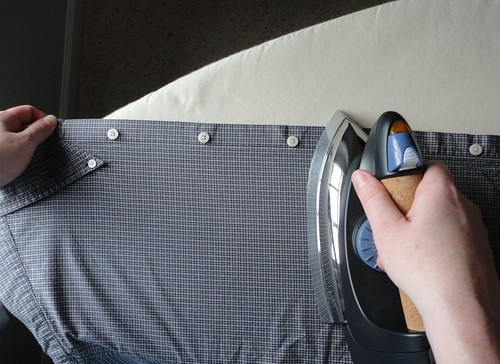
Iron the Right Side of the Body
Your next section to iron is the right side of the body. Start at the top by the shoulder. Drape the shoulder portion of the fabric over the edge of the board and iron just that section. Then move the shirt around and iron the top button area. This portion is the most awkward to maneuver in ironing a shirt. The fabric doesn’t lie precisely flat and if you’re not careful, you’ll create even more wrinkles. You’ll probably have to stretch and smooth the material flat several times while ironing this area.

Now drape your shirt over the board so you can iron the body portion and between the button holes. Make sure you don’t run your piping hot iron over the buttons. If they are delicate buttons you might melt them. And you surely don’t want to scratch the plate of your iron.
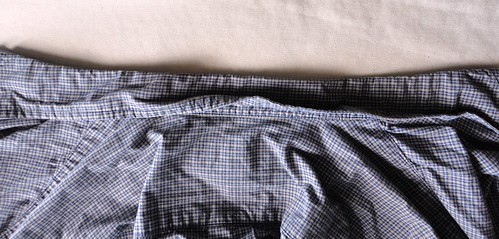
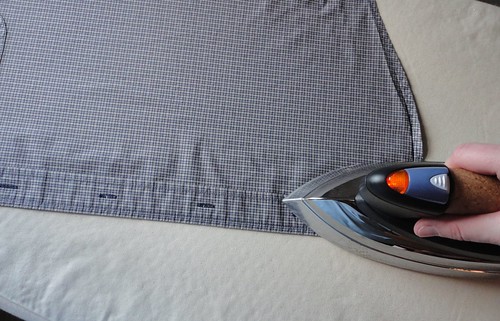
Iron the Back of the Shirt
Now slide the shirt over and iron the back of the shirt. You’ll probably have to do it in three sections. Iron one portion of the back, right up to the pleat. Now slide the shirt over your board so you can focus on the pleat. Smooth it down with your hands so the crease is as you’d like it. Now iron over the pleat and give it some steam so it will be crisp. Lastly, slide the shirt over the board and iron the last portion of the back of the shirt.
Iron the Left Side of the Body
Now, iron the left side of the body. Use the same guidelines as when you ironed the right side of the body. Start with the shoulder, move to the top buttons and then finish up the rest of the body side.
When you are ironing the button holes on this side, make sure you smooth the seaming down with your hands first. While holding the bottom of the shirt taut, iron slowly up the button holes towards the top of the shirt. Use a lot of steam so the material is nice and flat.
Hang Your Newly Pressed Dress Shirt on a Hanger
Lastly, hang your fabulously pressed shirt on a good quality hanger. Button the top button and every other button so the shirt will stay in good alignment while stored in your closet.
Do you have specific questions on ironing dress shirts? Leave your questions below.
- 128shares
- Facebook30
- Pinterest2
- Print28
- Twitter15
- Email40

Thanks for the tip. I always wondered if there was a better way to iron shirts. I’ll give it a try next time, instead of just randomly plowing my iron through my shirt. And almost always having to redo certain sections because it gets wrinkled again. Hate that.
I really have a hard time ironing clothes, especially long sleeves and pants. And these ironing tips are a great help in improving my ironing skills. Thank you for sharing.
My husband generally wears dress shirts 6 days a week. It does my heart good to know we iron in almost exact way. I am interested in your starch post. My hubby loves a stiffly starched shirt. Thanks for this blog it’s great!
Thanks, Amy! 6 days a week – that’s a lot of ironing! 😉
Thanks for your wonderful help im kind of a neat freak and you really helped me learn how to iron my dress shirts thanks for the help your the best!
You’re welcome, Nick! Glad it was helpful. 😉
I always end up re- ironing my husbands shirt, as creases would show up when i finish one side or the other of the shirt.The tips are really helpful ,it was really something i was looking forward to.
This will save my time and improve my satisfaction of Ironing too .
Thank you very much.
Wish u a Good day a head.
–
yes is some how helpfull
Shirt sleeves have a flat-felled seam. Your illustration above shows that seam being pressed flat on the side of the sleeve that also has the cuff buttons. Is there some reason for doing it that way? I’ve always wondered on which side of the sleeve the flat-felled seam should be pressed flat. I hope my question isn’t too stupid.
Are you still answering questions? See my question above, posted 3½ years ago. Still wondering …